Guide · 5 min read
How to Photograph Rooms for Virtual Staging
AI staging quality is decided before you upload — at the moment you take the photo. The angles, light, and lens habits that produce flawless renders.
· By the StageHQ team
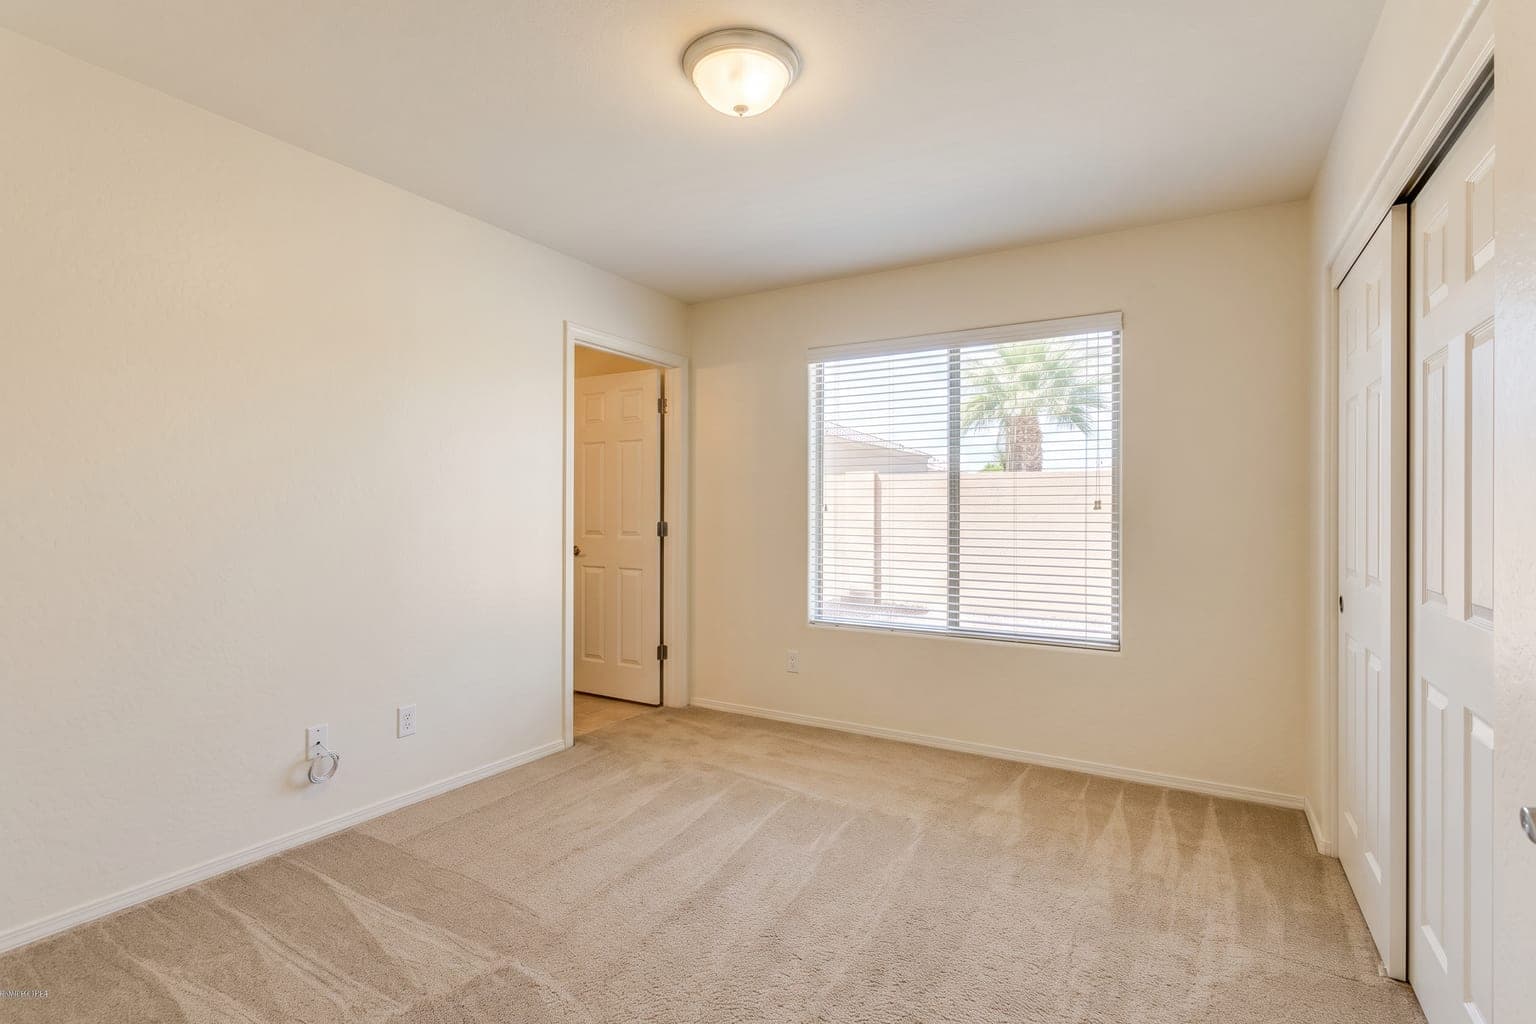 Before
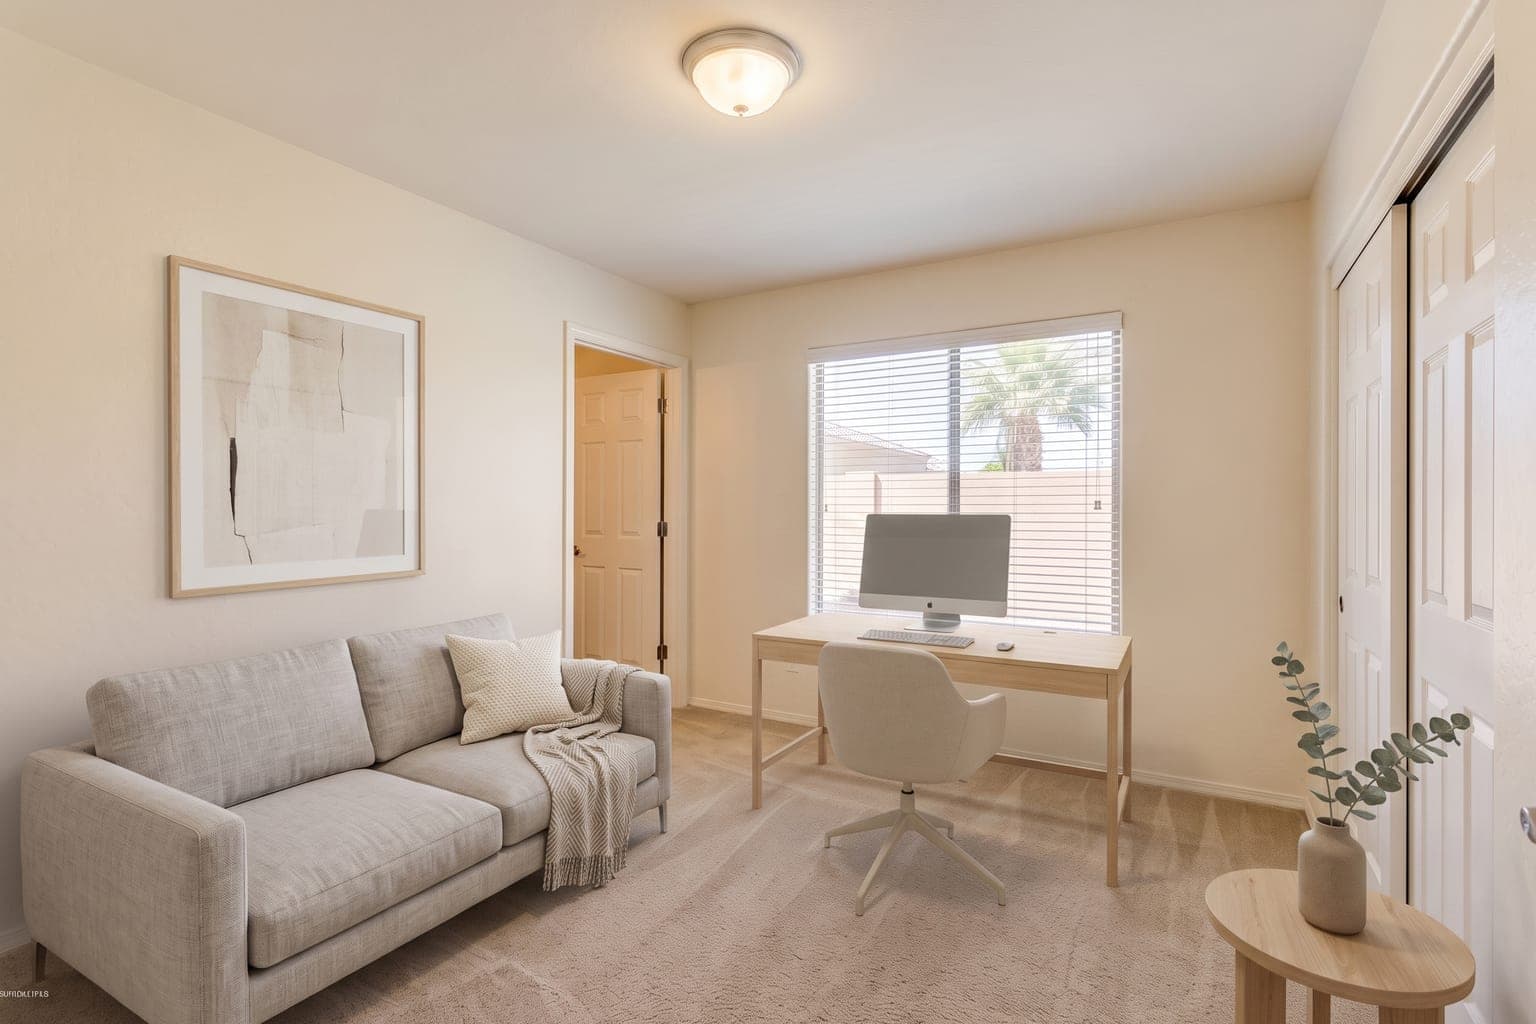 After
AfterVirtual staging AI reconstructs a room's geometry — walls, floor plane, light sources — from a single photo, then renders furniture into that model. Give it a clear, well-lit, honestly-framed photo and the output looks photographed; give it a dark, distorted one and no tool can fully save it. Here's how to shoot rooms that stage beautifully, with any camera including your phone.
The five rules that matter most
- Shoot from chest height (roughly 4–5 ft). Eye-level and higher distorts vertical lines; floor-level shots hide the floor the AI needs to place furniture on.
- Frame from a corner or doorway to capture two or three walls — the AI infers room depth and scale from wall intersections.
- Maximize light: open every blind, turn on every fixture, and shoot in daytime. Bright, evenly lit rooms produce the most realistic furniture shadows.
- Keep verticals vertical: hold the camera level (use your phone's grid/level). Converging walls confuse geometry estimation.
- Show the floor: at least the bottom third of the frame should be floor. Furniture has to stand somewhere.
Lens and device guidance
Moderate wide-angle is ideal — roughly 16–24mm full-frame equivalent, or your phone's main (1x) to 0.7x lens. Ultra-wide lenses (0.5x) exaggerate room size and bend verticals at the edges; the AI will place furniture in the distorted space and the render inherits the distortion. If you're shooting for MLS anyway, the same moderate wide-angle discipline serves both purposes.
Mistakes that ruin renders
- Shooting into bright windows without exposure compensation — blown-out windows cost the AI its main light reference. Expose for the room, or shoot HDR.
- Leaving clutter you want gone in the shot — use StageHQ's Remove Furniture mode deliberately, but small dense clutter (cables, piles) cleans up better in reality than in post.
- Extreme angles for drama — dutch tilts and floor-level hero shots photograph art, not floor plans. Stage from honest angles; get creative with the staged result.
- One photo per room when two help — a corner-to-corner pair gives you options, and the AI stages each independently in seconds.
A 10-minute capture routine for a whole listing
- Walk the property opening blinds and switching on lights (3 min).
- Shoot each room from its best corner at chest height, level, with floor visible (30 sec/room).
- Add a second angle in the living room and primary bedroom — the money shots (1 min).
- Upload the batch to StageHQ, pick styles per room type, and render while you pack up (rest of the time).
Test your photos right now
Upload a room photo to the free demo — no account needed — and see exactly what the AI does with your framing and light.